Thursday, November 5, 2015

Fall Faux Caramel Apple Project

I've been wanting to try this Faux Caramel Apple project for the last couple of years, but never got around to it. This year I was determined to get it done! I first saw these cuties on Aunt Ruthie's Sugar Pie Farm blog. If you haven't checked her out, make sure to pop over sometime and look around. You won't be disappointed! 


I just think these are so dang cute sitting in the window, and if you have a bit of a mean streak, people will think you made them a decadent treat. Have fun with that! They look really realistic.

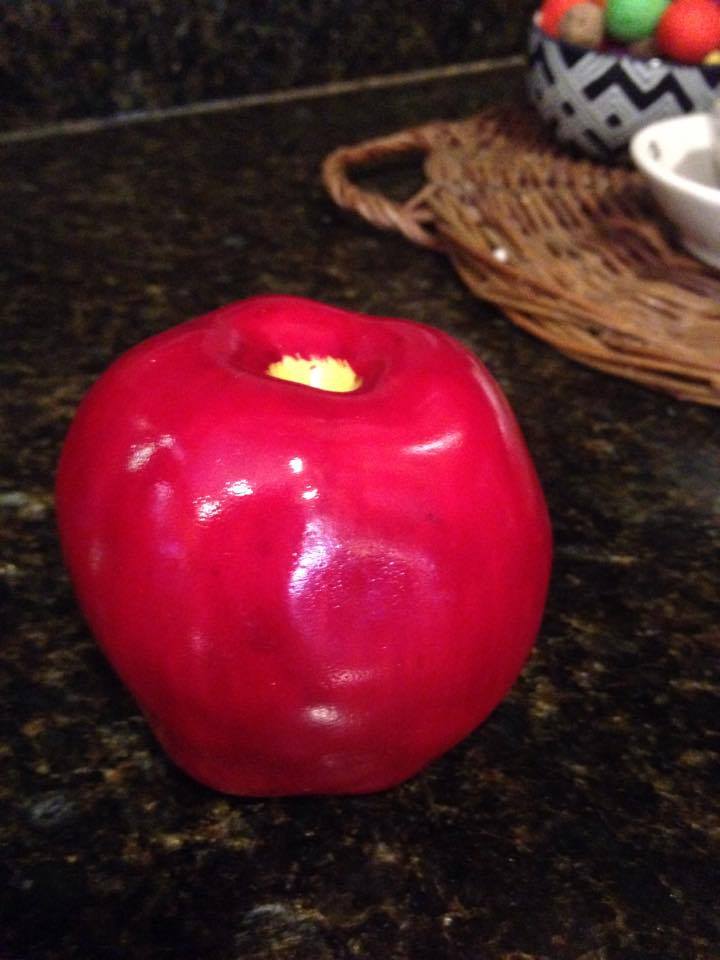
Ready to see how they're made? All the items are readily available and inexpensive. The first thing you need is artificial apples. There seems to be a considerable range of price for these. If they seem pricey to you, keep looking. I got mine for about $2 each I believe. You could do all red, all green, or a mix of both. Gently pull the plastic stem off so you will have room to insert a twig in the top.


Next, just poke your stick in where the stem was. Even though they're styrofoam-like, I still had to push really hard to get them in. It helps to twist while you're pushing.


After your apples are all ready, it's time to mix up your faux caramel sauce. Just use the inexpensive acrylic crafts paints and choose a color or two that look like a nice rich, creamy caramel color. I couldn't find anything spot-on, so I chose three and mixed them. You'll also need to add glossy Mod Podge to your mixture. 


Now you can just grab your apples and start coating them just like you would do with real caramel apples.


Make sure to leave part of the apple caramel-free just like a real caramel apple. Then, while the paint mixture is still nice and wet, add your faux chopped peanuts. Want to know what they really are? Corn cob animal bedding. Yep! Looks just like the real thing!


I just poured some on a paper plate and sprinkled over the top of my apples. Don't worry about doing it perfectly. This is a very forgiving project.


Next, set your apple on a non-stick surface to dry. You could use waxed paper if you'd like. I had freezer paper on hand, so that's what I used. Just make sure to use the shiny side if you use freezer paper.


Once I had all my apples dipped and sprinkled, I added the finishing touch and hot glued on a leaf or two to give them a slightly more realistic look. I just pulled them off some faux boxwood greenery I already had on hand, but you could also pick some up at the craft store. I think one or two inexpensive floral picks would do fine.


After allowing my faux apples to dry overnight, I found them to be just a little tacky on the bottom still. So, I cut a piece of freezer paper to fit my cake stand and heaped them on for display.


I'm really happy with the way they turned out and I'm sure I'll pull these out for several falls to come. 

Here's what you'll need to try this project on your own:

Six Faux Apples
Acrylic Paint (try mixing two or three colors for a custom shade of caramel)
Mod Podge (make sure to get the glossy finish)
Corn Cob Animal Bedding
Six Sticks (approximately six inches - just collected ours from our front lawn)
Hot Glue Gun
Greenery
Waxed Paper or Freezer Paper

Remove plastic stem from apples, then replace each with a stick. Next mix up your faux caramel sauce. I used about 1/3 to 1/2 of each bottle of acrylic paint I chose, then swirled them all together. I just kept adding a squirt of this and a splurt of that until I got the color I wanted. Then, I added approximately the same amount of Mod Podge as paint. Don't worry about exact measurements. It will turn out fine if you just approximate. Next, when your paint and Mod Podge is well mixed, swirl your apples to cover the lower 2/3 of each apple. Leave plenty of the green or red showing at the top. Not only does it look more realistic, but it's really pretty too. Next, sprinkle the corn cob bedding over the top until you get a look you like. I concentrated most of my faux chopped peanuts on the top and left the lower half of the apples mostly caramelly. That may not be an actual word. Let's just say it is. Next, place them on your waxed paper to dry and give them a good 12-24 hours. While they're drying, hot glue a leaf or two to the sticks for a natural look. That's it! Now all you have to do is enjoy them! Oh, and make sure to warn ecstatic family members that they can't really be eaten. Happy fall!


Tuesday, October 27, 2015

No Excuses Bread

Have you heard of Cooking Guy? If not, then you need to check him out. He's three and already rocking the kitchen. Today I'm making my version of his "No Knead Bread". I tweaked the recipe slightly to better suit our family, but it's basically the same. 

This is a truly easy recipe, and it's also really, really good. 

The first thing I did was assemble my ingredients. This is such a simple recipe, you probably already have everything on hand that you'll need. All of the ingredients are pantry staples.


Just dump your ingredients in a bowl and stir to combine. This is so easy, I think it's going to revolutionize my bread making. I don't always make bread from scratch, not by a long shot, but I do like to make it fairly regularly. Homemade bread tastes amazing, it's really inexpensive, and the ingredients are MUCH better than what's on store shelves so it's significantly healthier. Traditionally made homemade bread has a reputation for being a little tricky, but this! This! How easy can it get? That's why I call this "No Excuses Bread".


After mixing just until it comes together, cover the bowl with a damp towel and let rise 30 minutes.


Then, you can either bake in a well greased cake pan (like 9 x 13) or divide into two well greased loaf pans. I went with my loaf pans, but because I hate to wash dishes, I used parchment paper instead of greasing.


Then, pop into a 425 degree oven for 20-25 minutes if you're using a cake pan, or 25-30 minutes for two loaves (the original recipe called for 45-60 minutes, but mine was getting too brown after 35 minutes, so I'd recommend checking it around 25-30 for two loaves). That't it! Delicious homemade bread in no time and with very little effort.


This bread would be great for breakfast, lunch or dinner and I've read that it's outstanding sandwich bread. We're having it tonight with crock-pot spaghetti. I can't wait! It's SOOO good! Thanks Cooking Guy! Oh, and did I mention that this bread only costs .50 to .60 cents a loaf???

Here's the recipe I used.

4 cups flour
2 Tbsp. active rise yeast
2 Tbsp. agave syrup (could use sugar or honey)
2 cups warm water
1 egg

Stir ingredients together, cover with a damp tea towel and let rise 30 minutes. Then transfer to two loaf pans lined with parchment paper and bake at 425 degrees for 25-30 minutes. Remove from oven when golden brown. Let cool slightly and enjoy!

Check out the three-year-old kitchen genius on youtube: https://www.youtube.com/watch?v=yYh_P0JHH8s

Monday, October 26, 2015

Felted Acorns

 Oh my goodness. I first saw this adorable project in Cabin Living magazine and I knew I had to make some of my own. I love the colors, I love using natural materials, and I love seeing how cute they look in a little dish in my kitchen. Felted acorns just make me smile. Want to see how easy they are to make?

If you have your own source of wool, this would be a super fun way to use it. If not. like me, you have a couple of options. First, you can purchase wool roving and felt your own wool balls. It's easy. I've made felted alpaca dryer balls before and the process is the same. There are many good tutorials online for this process. Or, if you prefer, you can do what I did and order some felted wool balls online. I found some really pretty colors in just the right size on Etsy. I chose 2cm for this project. Natural colors would be beautiful, but I loved the bright, cheery colors they used in the magazine project so that's what I went with. And, I love how the jewel tones will look great right through Thanksgiving.

Next, for the fun part. Grab a child and go collect acorn caps. The school where my son plays soccer is covered in gorgeous, big, plump acorns. My daughter and I brought bags and loaded up because I have at least a couple other uses in mind for these little beauties. 


Next, simply hot glue the caps onto the felted wool balls with low melt glue and let dry (just five minutes or so). 

Then show off your beautiful, inexpensive and creative fall project! I chose to display mine in a simple dish, but you could also string them on some twine for a sweet little swag or even use them as ornaments on a fall themed tree. So many cute uses for these cute little acorns. Happy fall!


Sunday, September 13, 2015

Whew! That's me exhaling a GIANT sigh of relief you guys. Summer was not nearly as refreshing as I had hoped and the grand finale, which sounds like loads of fun but is actually code for nonstop work, was the county fair. Let me tell you a tiny bit about this big event. Our fair is old fashioned and truly wonderful. It has taken place every Labor Day weekend for decades at the fairgrounds in our little mountain community. We have a strong ag culture with lots of local ranchers and farmers and that's reflected in our fair. Barn after barn at our fairgrounds are bursting at the seams with prize heifers, glossy dairy goats and pampered poultry.

The other buildings are jam packed with hundreds of examples of our county's best cookies, jams and pies. Yours truly won a blue ribbon for the most delicious Bourbon Peach Pie. Yep, that's one thing marked off my bucket list. I've always wanted to enter something and win a ribbon. I can't tell you how excited I was when I saw that satin-y blue first place sitting on top of my pie! And, last but certainly not least is the old fashioned midway filled with thrill rides and sinful fair foods including a shocking new addition - Deep Fried Twinkies. I did not try any, but my son did. They will fry anything!

So why is this event so much work? Because we had roughly twenty entries to prepare this year. Four prize rabbits, two beautiful dairy goats, cookies, 4H projects and the aforementioned pie. The weeks before and during fair are a whirlwind frenzy that cannot truly be described.

Suffice is to say, there is not a member of this family (even those who did not personally enter anything) that doesn't let out that giant sigh of relief when the last animal and project is retrieved and we collectively collapse on our couch. Never does the old homestead look more glorious than when we are at last free to enjoy it at the end of fair. It took me an entire week to feel like I had my head above water again. I am still digging out from laundry, dishes, and neglected housework. I'm actually relishing this time when I can look around and say "What needs my attention?" That is NOT something I usually enjoy! And what I'm truly looking forward to, is doing some fall decorating.

Since we had company coming and my front porch was quite honestly horrifying, I'll share with you what I did to beautify the area around the front door. My two littles (who are no longer all that little at 12 & 15) helped me a ton with this project. We started by sweeping and scrubbing (the chickens had been there - that's all I'll say on that subject). Then I pulled everything out of my galvanized planters so I'd have a blank canvas. We also removed all the other items that had previously resided on the porch and sprayed off the cobwebs. Fair always leaves me with a desire to simplify, so that's what we did. And, I have to say I love the uncluttered look. I headed to the local nursery to look for plants that look like late summer and early fall - I'm not quite ready for mums yet. I decided on a combination of lavender, ivy and marigolds.

That way I get a little fall color from the flowers, and can add mums and pumpkins as the season progresses.

 I cannot tell you what a lift this little project gave the front of the house and me! I can already feel the stress of fair fading away!

I smile whenever I go out there now, and more importantly I know that area is tons more welcoming for our friends visiting with us over the next few days!

What simple project can you do to freshen up your place?